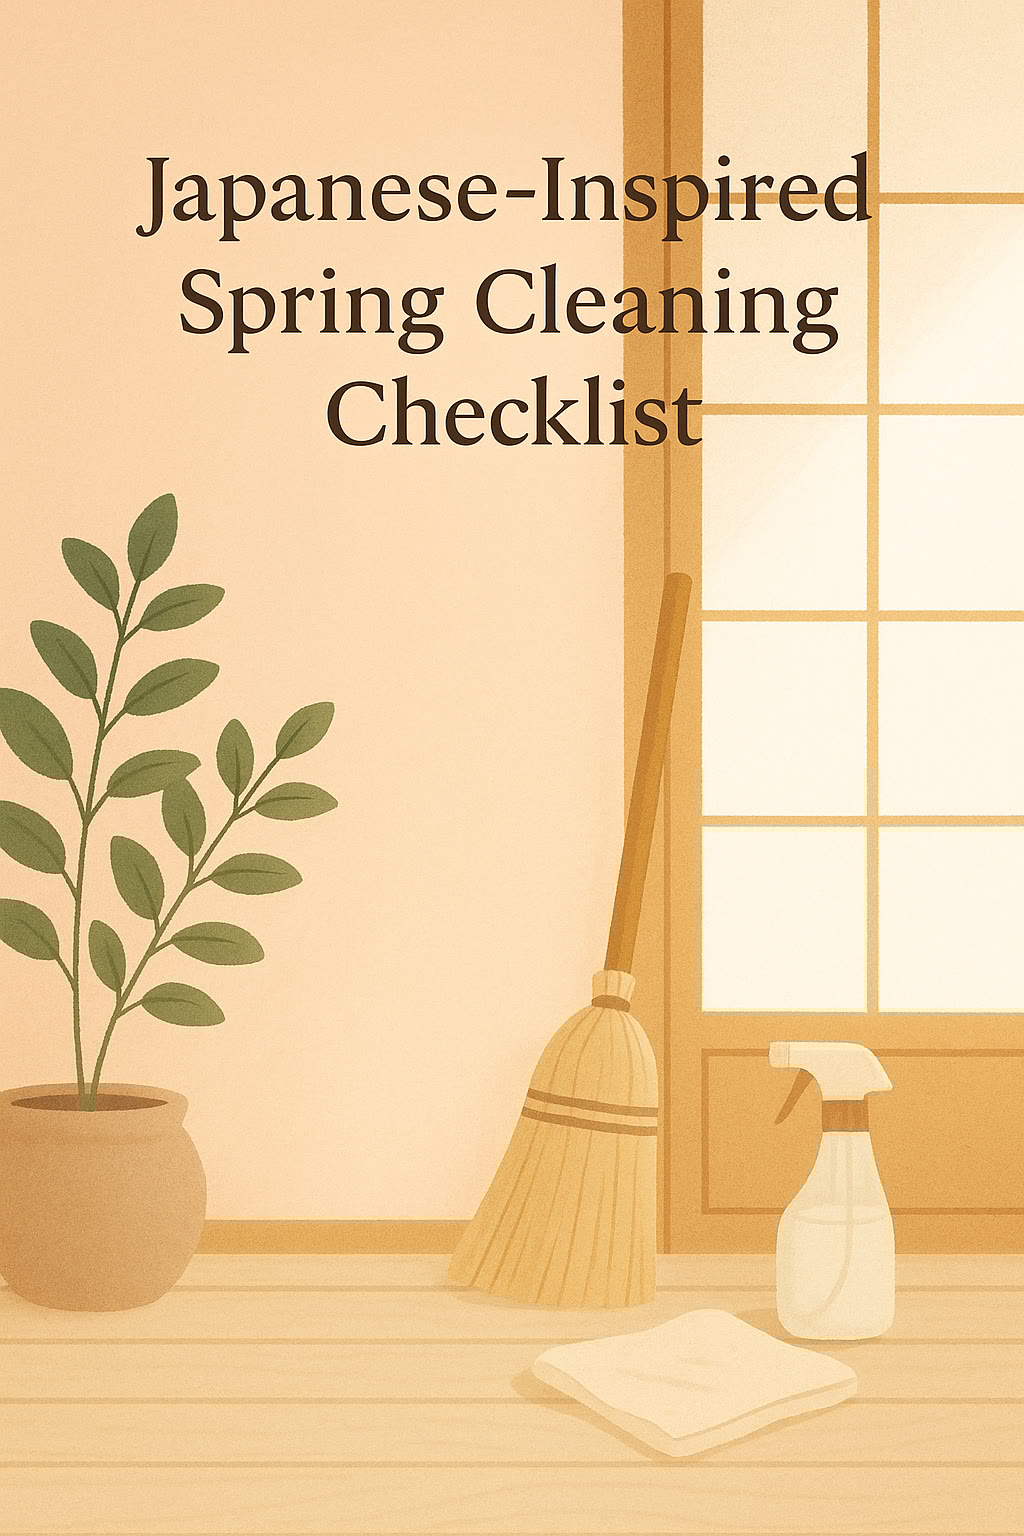
Soft, simple, and soothing — a Japanese-style floor mattress (or shikibuton) is one of the most peaceful ways to reset your space and your sleep. Whether you’re craving a minimalist bedroom, a cozy guest setup, or just a slower rhythm in your home, making your own floor mattress can be a beautiful project.
Here’s how to DIY your own Japanese floor mattress — thoughtfully and practically.
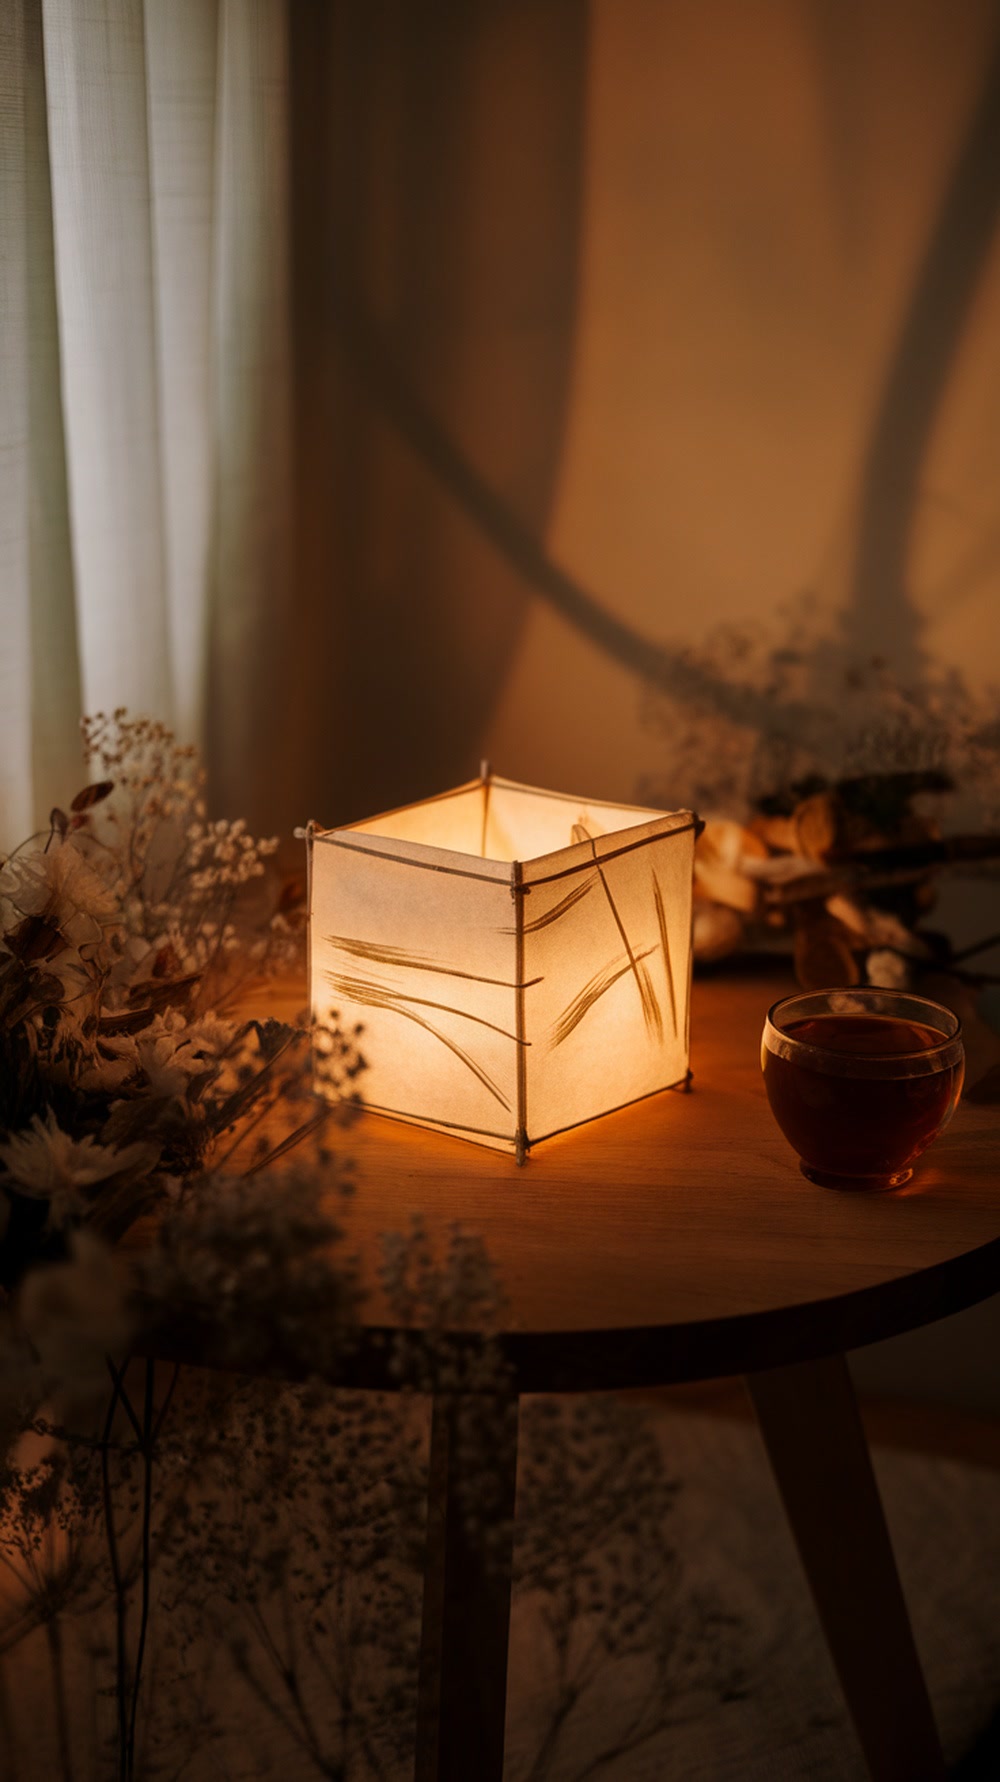
🧵 1. Understand the shikibuton vibe
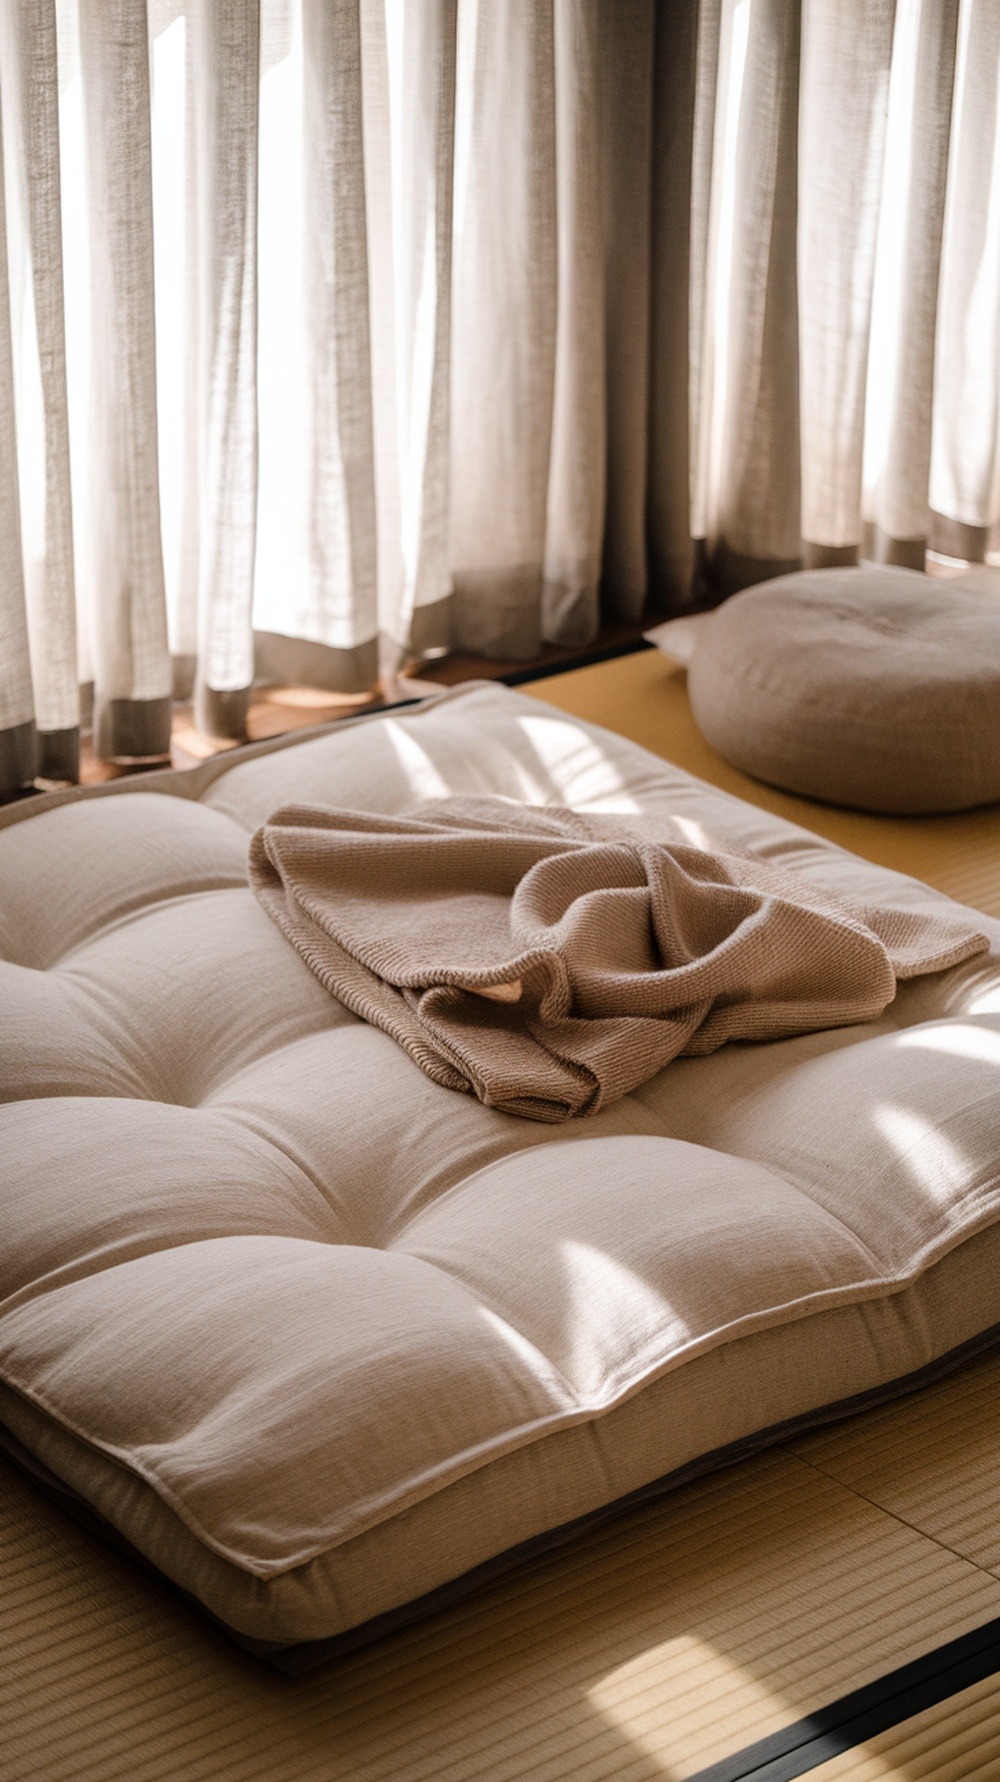
A shikibuton is a traditional Japanese mattress, about 2–4 inches thick, meant to be laid directly on a tatami mat or soft floor.
It’s foldable, breathable, and encourages simple living.
Takeaway: It’s not a Western mattress — it’s thinner, firmer, and more in tune with natural materials and floor living. Think futon meets yoga mat with a hug.
🪡 2. Choose the right materials
Your mattress will need:
- Cotton or wool batting (for the stuffing)
- Cotton canvas or organic twill (for the cover)
- Heavy-duty thread
- Large upholstery needle or tufting needle
- Optional: ties or buttons for tufting
Natural fibers breathe better, mold to your body over time, and feel grounded.
Tip: 8–12 pounds of batting will give you a plush but firm feel for a single-size shikibuton.
✂️ 3. Measure and cut with care
Decide on your mattress size (twin, full, or custom). Add about 1 inch of seam allowance on all sides for sewing.
Cut your top and bottom panels from your fabric, then cut side strips if you want a boxed edge (or go for a flat design for simplicity).
Inspiration: A simple twin-sized roll-up version is perfect for small spaces or meditation rooms.
🧷 4. Sew the outer shell
Using your heavy-duty thread, sew three sides of your mattress together (inside out). If you’re adding a boxed edge, attach the side strips before sewing the top and bottom together.
Leave one side open — this is where the batting goes in.
Tip: Reinforce the seams! This is where the weight will stress the fabric over time.
🐑 5. Layer in the batting
Lay out your cotton or wool batting in thin layers, then roll or fold it to insert into the cover. Once it’s inside, spread and fluff it evenly so your mattress feels balanced.
You can do one thick layer or several thinner ones stacked together.
Comfort trick: Add an extra top layer just under the surface for a bit more cushy feel.
🪢 6. Tuft for coziness and structure
Tufting keeps the batting in place over time and gives your mattress that lovely quilted look.
Using an upholstery needle and strong thread (or yarn), stitch through the mattress at evenly spaced intervals. Tie off the ends tightly and add buttons if you like.
Vibe check: Tufting makes the whole thing feel handmade and intentional.
🍃 7. Let it breathe and break in
Lay your finished mattress flat in a well-ventilated room for a few days. This helps any packing folds relax and gives the natural materials a chance to settle.
Over time, your shikibuton will soften in all the right ways — just like your favorite pair of linen sheets.
🌙 8. Daily care = long life
Roll or fold your mattress when not in use. Air it out weekly by laying it in the sun or near a window.
Every few months, rotate and gently shake it out to keep it fluffed and even.
Simple rhythm: Fold it up with a cotton blanket and floor pillow during the day for a dreamy reading nook.
Whether you’re simplifying your sleep setup or adding a grounding spot to your home, a DIY shikibuton brings calm, comfort, and intention into your space.
Sleep low. Live slow. Let your home feel soft around the edges.