Soft, glowing, and full of charm — Japanese lanterns bring a peaceful ambiance wherever they go.
Whether you’re dreaming of a cozy corner, a garden lit for summer evenings, or just want to slow down with a creative project, making your own Japanese lantern is a beautiful way to add intention and light to your space.
Here’s how to make one at home — simple materials, calming vibes, and lots of heart.
🧺 1. Gather Your Materials
Simple and soothing
You don’t need much to make a beautiful lantern. Here’s what you’ll want:
- Rice paper or parchment paper
- Bamboo skewers or thin wooden sticks
- Glue gun or strong craft glue
- LED tealight or fairy lights (never use a real candle!)
- Scissors
- Ruler and pencil
- Optional: string, paintbrushes, black ink or watercolor for decorating
This project is meant to be slow and satisfying. Take your time setting everything out.
🏮 2. Choose Your Shape
Classic or creative?
Traditional Japanese lanterns (like chōchin) are often round or rectangular. For a beginner-friendly version, go with a box shape — it’s easier to build and still looks lovely.
Imagine it as a glowing gift box, softly lit from within.
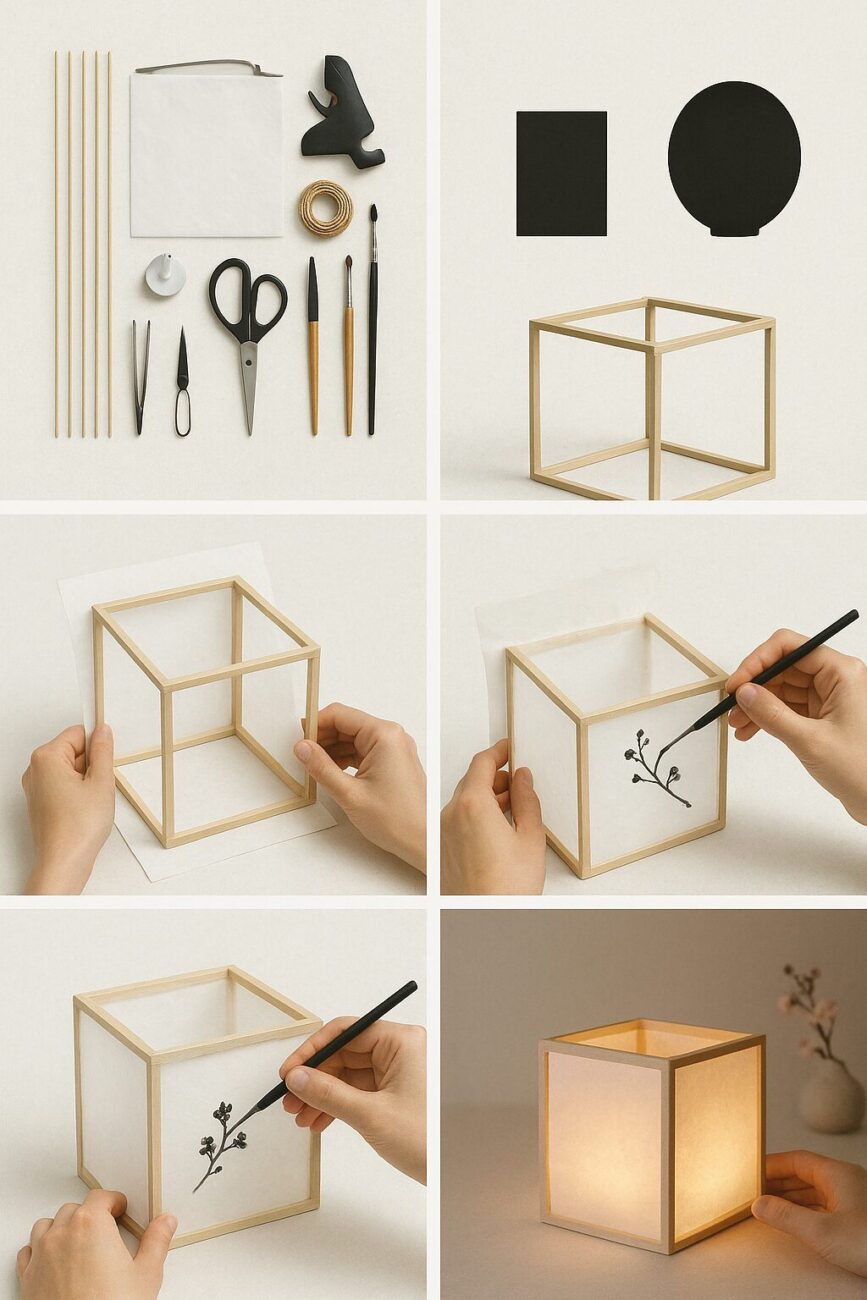
✂️ 3. Create the Frame
Lightweight and lovely
Use bamboo skewers or thin sticks to make a cube or rectangle:
- Measure and cut 12 sticks of the same length
- Glue them together to form a box (4 sides + top and bottom)
- Let it dry fully — you want it to be strong enough to hold the paper
Think of it like building a delicate house for light.
📄 4. Add the Paper
This is where the magic happens
Cut pieces of rice paper just a bit larger than each side of your frame. Then:
- Gently fold the edges over and glue them to the inside of the frame
- Smooth out wrinkles with your fingers
- Let it dry completely before moving to the next side
The soft paper glow is what gives it that timeless Japanese feel.
🎨 5. Optional: Add Personal Touches
Ink, brushes, and quiet joy
If you’re feeling inspired, you can paint or draw delicate designs on the rice paper.
Try:
- Simple brushstrokes
- A single kanji character for peace or light
- A branch of cherry blossoms or a mountain silhouette
Keep it minimal — the beauty is in the space between.
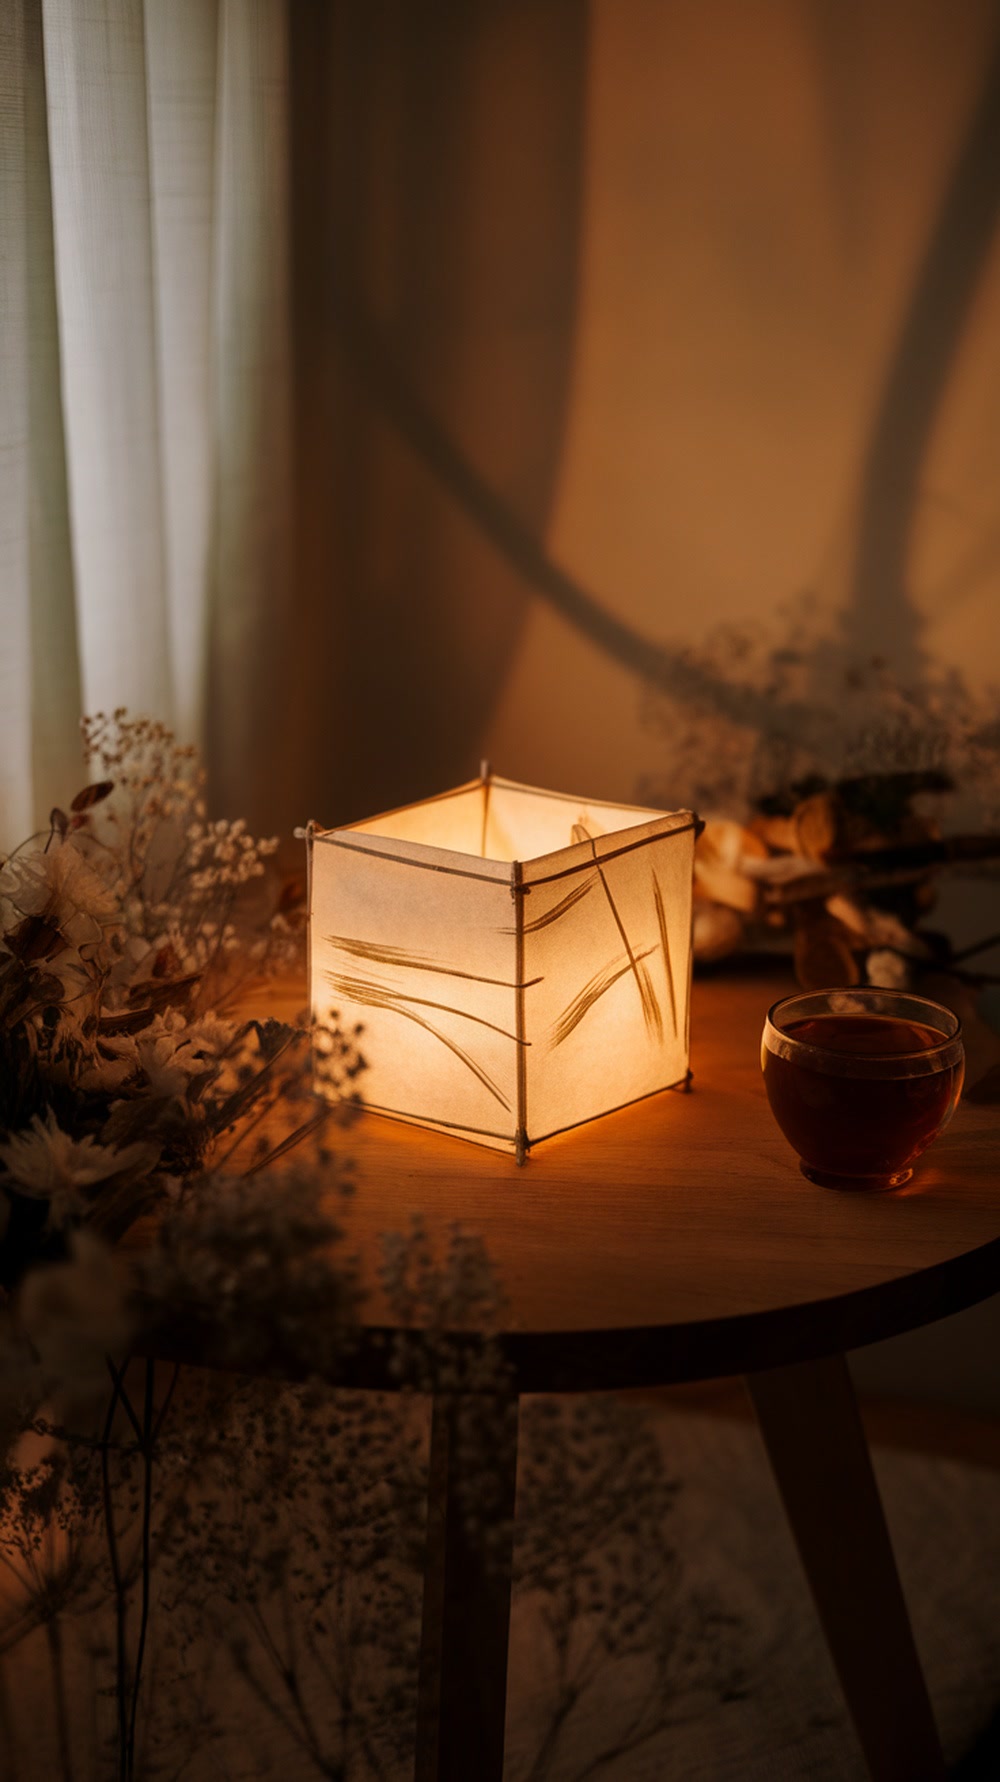
🔋 6. Light It Up (Safely)
Soft glow, zero fire risk
Slip an LED tealight or a short strand of battery-operated fairy lights inside.
You can rest the lantern on a shelf, hang it from a hook with string, or place it in your garden for evening ambiance.
No wires. No flames. Just a gentle light that feels like a whisper.
🌸 7. Where to Use It
Anywhere you want calm
- On your bedside table as a wind-down ritual
- In your bathroom for a slow soak
- Hanging from a tree for a moonlit dinner
- As part of your meditation or tea space
Your lantern becomes more than décor — it’s a reminder to pause.
✨ A Small Light, A Big Mood
Making your own Japanese lantern isn’t just a DIY project — it’s an act of slow beauty.
Something soft. Something made with care. Something that glows from within.
Let your light shine, gently.